Adding Projects, Members, and Connections
In a recent blog, we learned about Navicat's latest collaboration tool: Navicat On-Prem Server. It's an on-premise solution for hosting a cloud environment where you can securely store Navicat objects internally at your location. Today's blog will cover how to work with projects in Navicat On-Prem Server. Topics covered will include how to create a project, adding members, and how to configure a connection to your database instance(s).
Creating a New Project
The first time you launch On-Prem Server, the main window will indicate that you have no projects yet. To add one, click the "+New" button and select "New Project" from the popup menu:
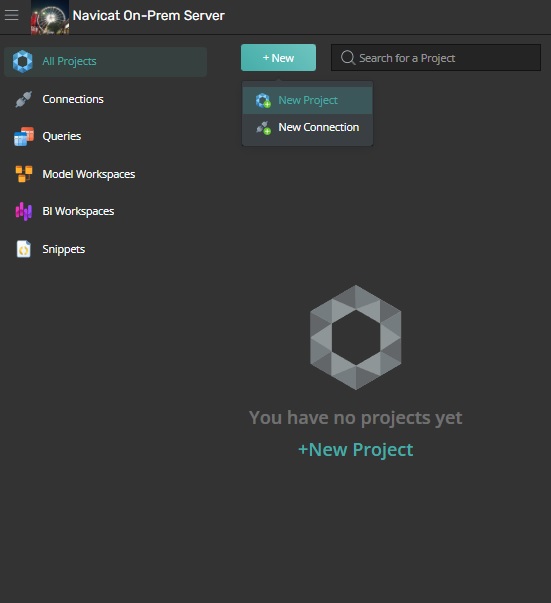
Enter the project name in the dialog and click "Create" to add the new project.
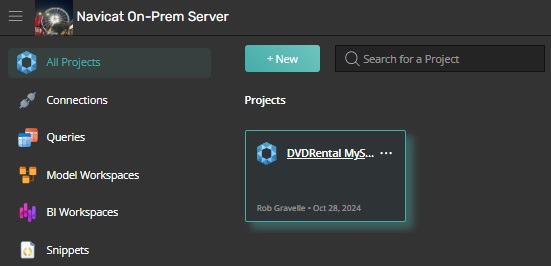
After the dialog closes, you should see your new project under "Projects" in the main window:
Adding Members To a Project
Our new project will now allow us to share queries, code snippets, virtual group information, as well as model and Business Intelligence (BI) workspaces with our team members. Let's add some team members to the project now. There are a couple of ways to do that; the first is to click on the ellipsis (...) to the right of the project name. That will open a submenu with additional commands. The one we want is "Manage Members":
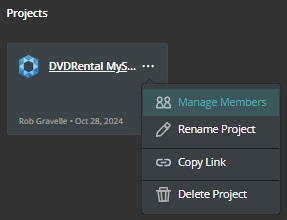
Clicking it opens a dialog where we can add members.
The other way to access the dialog is to click on the project name. That will show the project details. There, we can click the "Manage Members" icon:
When the Collaborate dialog first opens, only the project owner will appear in the list. To add members, click the "+Add Member" button at the bottom of the dialog:
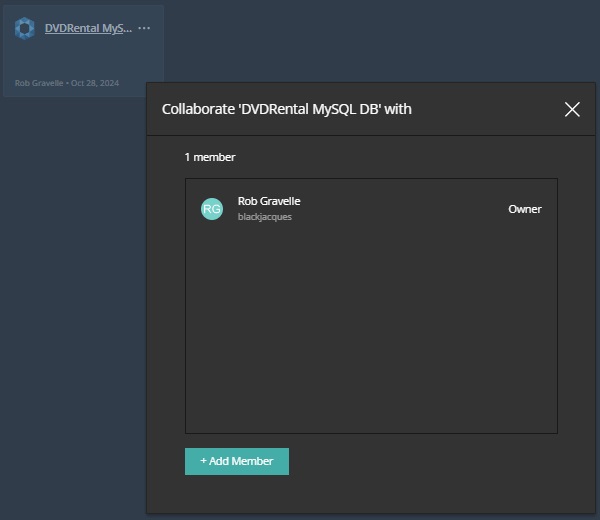
That will show some additional fields to the bottom of the dialog where we can enter the member's name/email and rights. These include:
- Can Manage & Edit: Read Objects, Write Objects, Manage Members and Rename Projects
- Can Edit: Read Objects and Write Objects
- Can View: Read Objects
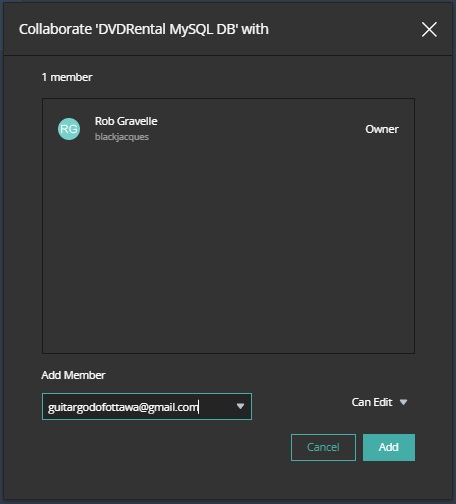
Click "Add" to append the member to the list.
Preparing the Project For Object Sharing
Before we can share queries, code snippets, virtual group information, or model workspaces and Business Intelligence (BI) workspaces with our team members, we must first create a connection to the database instance.
The first step for creating a new connection is similar to that of creating a new project. Again, we will click the "+New" button, but this time, we will choose the "New Connection" command from the popup menu:
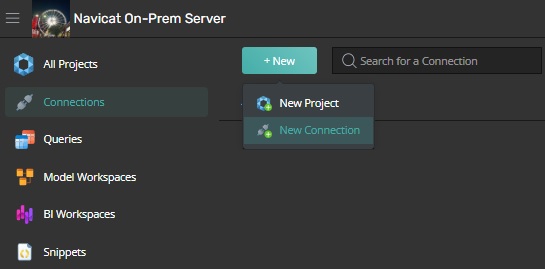
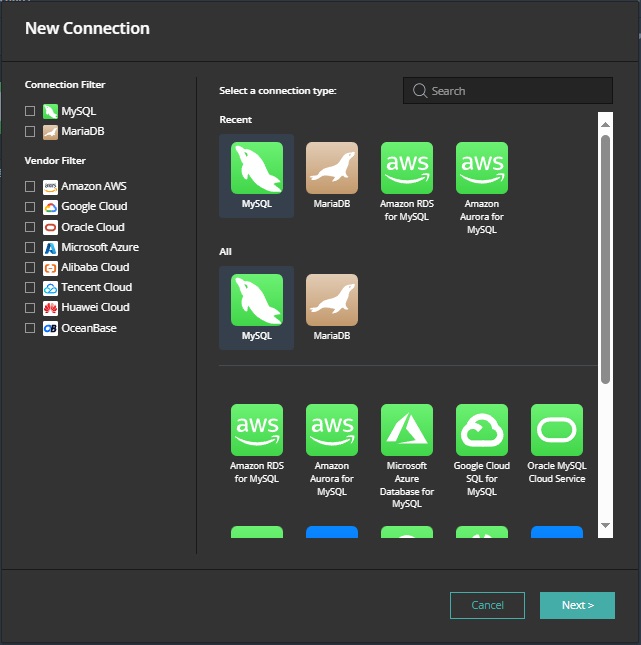
The New Connection dialog will guide us through the process.
The first step is to select the connection type - i.e. what type of database are we connecting to:
On the next screen, we can provide the Connection Name, Project, as well as the authentication details:
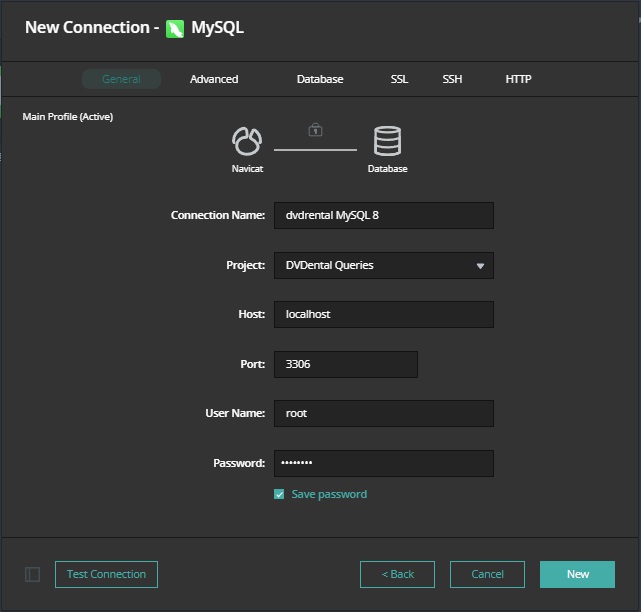
Once all of the fields have been populated, we can test the connection by clicking the "Test Connection" button. We can then proceed to create the new connection by clicking on "New".
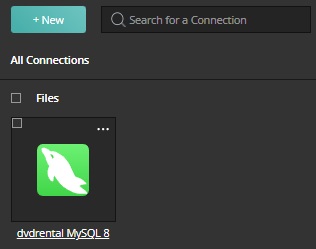
Once the dialog closes, we should see the new connection on the Connections screen:
Conclusion
In today's blog we learned how to create a project, adding members, and how to configure a connection to your database instance(s) in Navicat On-Prem Server. Now that we've configured the connection to our database instance, next week we'll proceed to establish a connection to the database, and share some Navicat objects with our team members via the project that we created here today.


